At 17,000+ miles and 6+ seasons, I started noticing a tight spot on the drive chain and it needed more frequent adjustment. It was time for a new chain. This is the process on my 2005 Bonneville. It was the first time that I’ve dealt with a riveted chain, so this is my experience and maybe not the definitive description of the procedure.
1. Preliminaries
I removed the sprocket cover and examined both sprockets to determine if they needed replacement. They’re in good condition, so they stayed. I made a mark on the chain and counted the links. Per the manual, my chain has 104 links, and I did indeed count 52 “large” links (thus 52 additional links between them).
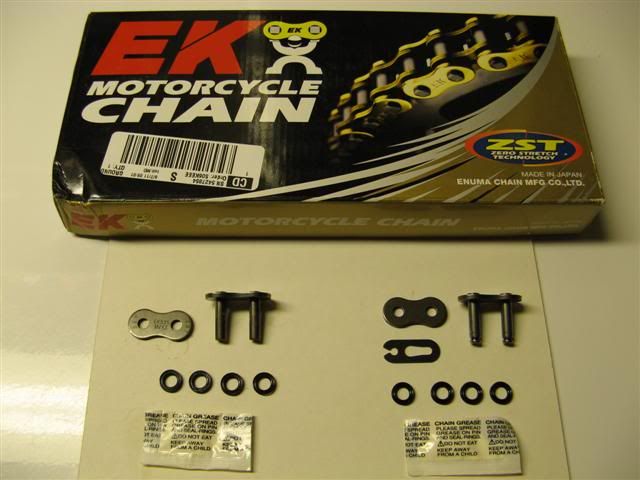
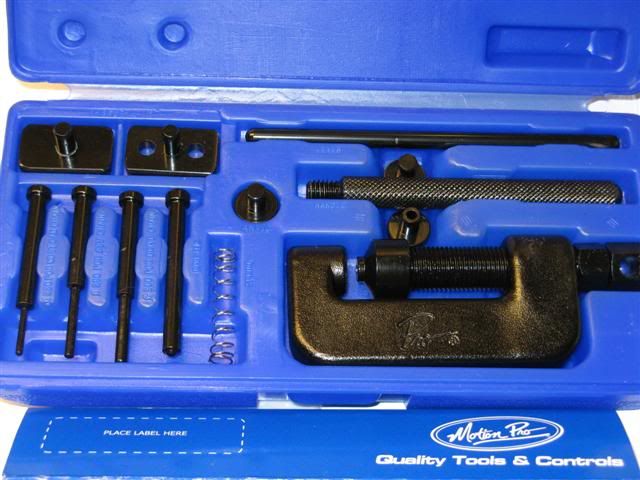
I ordered an EK 525 MVXZ chain, which comes with a hollow-nose rivet master link, and I added a clip link as a backup. I also ordered the Motion Pro 08-0058 chain tool kit (about $90). This tool is up to the job, but not with a robust margin of strength. If you use it, order an extra 4mm (large) breaking pin with it, as there’s a good possibility that you’ll break it.
![Image]()
If you use a different chain tool, your use of the tool might not be exactly the same as described here, although the chain replacement procedure will be the same. I don’t make detailed references to the chain tool in this post, because the directions for it should be consulted when it’s used. They’re here for the tool I used:
http://www.motionpro.com/documents/pdf/ar857_I08-0058 10.2010.pdf
The chain tool has to be used correctly and exactly as described in the directions. I used a 5/8-inch wrench to hold the tool body, rather than the supplied handle, which has been reported to break off. A 14mm wrench is used to turn the alignment bolt.
(Even if you decide to use a clip link for future chains, you’ll still need a chain breaker for the original chain and to cut new chain, and you’ll still need the chain press to put on the side plate, so there’s no escaping the chain tool.)
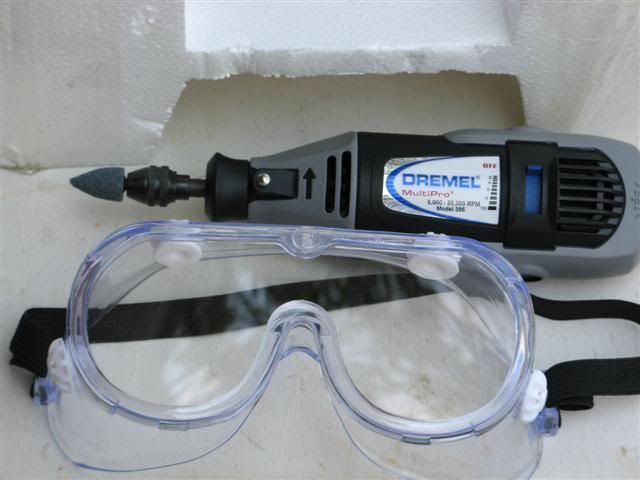
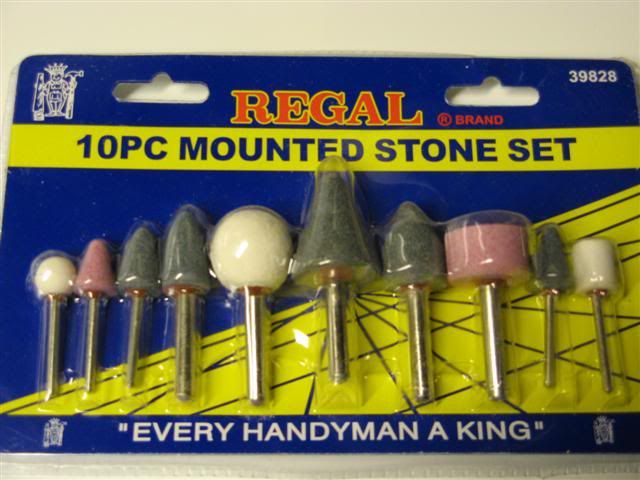
I bought a set of cheap grinding wheels from the bargain tool bin in the local Ace Hardware. I already have a Dremel tool, although it should be possible to grind off the rivet heads with a drill. Dremel makes grinding wheels, but the cheap one did a good job.
List of supplies and tools
New chain and master link.
Chain tool kit to break, press, and rivet, and a spare large (4mm) breaking pin.
Dremel, drill, or grinder and small grinding wheel for it.
Safety goggles. This is not an option.
Caliper, used to measure the rivets.
The rest are the usual tools that you already have.
Degreaser, disposable gloves, paper towels, rags.
In the photo below, the riveted master link is on the left, and the clip-type master link--not used at this time--is on the right.
![Image]()
![Image]()
![Image]()
1. Preliminaries
I removed the sprocket cover and examined both sprockets to determine if they needed replacement. They’re in good condition, so they stayed. I made a mark on the chain and counted the links. Per the manual, my chain has 104 links, and I did indeed count 52 “large” links (thus 52 additional links between them).
I ordered an EK 525 MVXZ chain, which comes with a hollow-nose rivet master link, and I added a clip link as a backup. I also ordered the Motion Pro 08-0058 chain tool kit (about $90). This tool is up to the job, but not with a robust margin of strength. If you use it, order an extra 4mm (large) breaking pin with it, as there’s a good possibility that you’ll break it.
If you use a different chain tool, your use of the tool might not be exactly the same as described here, although the chain replacement procedure will be the same. I don’t make detailed references to the chain tool in this post, because the directions for it should be consulted when it’s used. They’re here for the tool I used:
http://www.motionpro.com/documents/pdf/ar857_I08-0058 10.2010.pdf
The chain tool has to be used correctly and exactly as described in the directions. I used a 5/8-inch wrench to hold the tool body, rather than the supplied handle, which has been reported to break off. A 14mm wrench is used to turn the alignment bolt.
(Even if you decide to use a clip link for future chains, you’ll still need a chain breaker for the original chain and to cut new chain, and you’ll still need the chain press to put on the side plate, so there’s no escaping the chain tool.)
I bought a set of cheap grinding wheels from the bargain tool bin in the local Ace Hardware. I already have a Dremel tool, although it should be possible to grind off the rivet heads with a drill. Dremel makes grinding wheels, but the cheap one did a good job.
List of supplies and tools
New chain and master link.
Chain tool kit to break, press, and rivet, and a spare large (4mm) breaking pin.
Dremel, drill, or grinder and small grinding wheel for it.
Safety goggles. This is not an option.
Caliper, used to measure the rivets.
The rest are the usual tools that you already have.
Degreaser, disposable gloves, paper towels, rags.
In the photo below, the riveted master link is on the left, and the clip-type master link--not used at this time--is on the right.